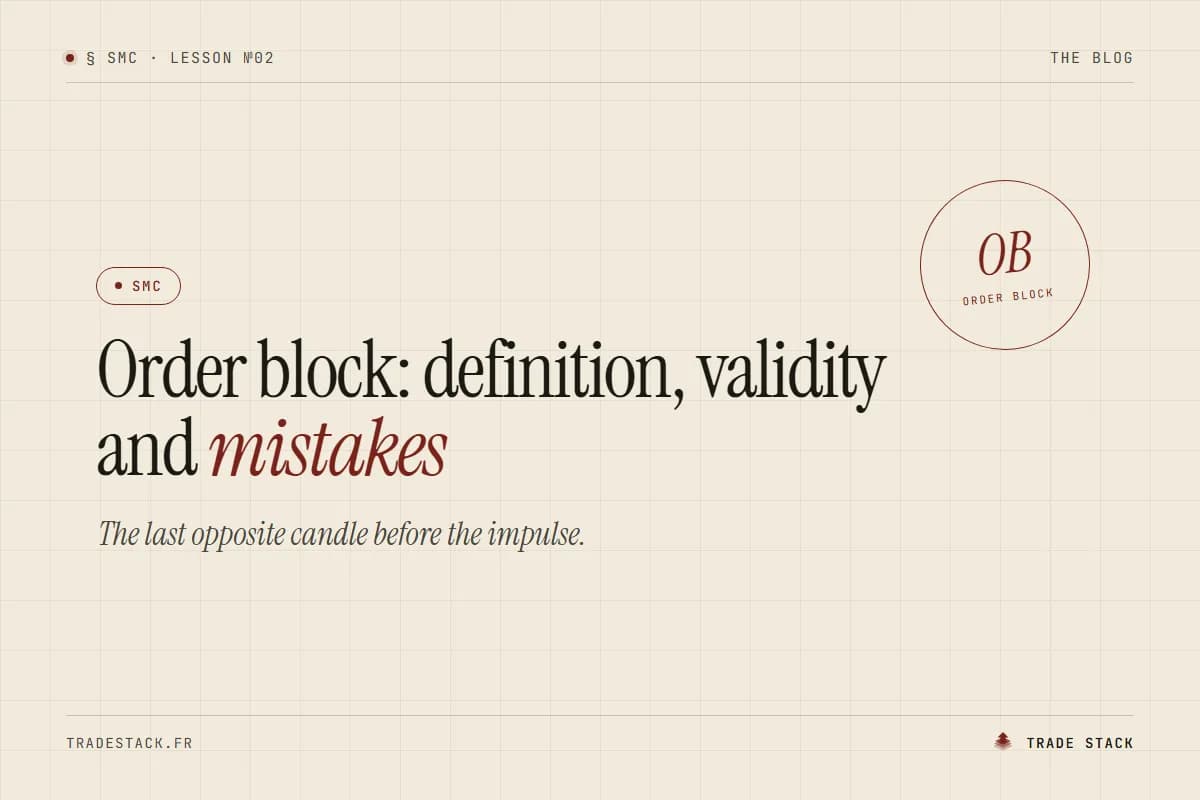
An order block is the last candle of the opposite direction before an impulsive move that breaks structure: the last bearish candle before a bullish impulse, or the last bullish candle before a bearish one. Without a break of structure, it is just a candle.
You open an M15 chart and see them everywhere. Every red candle before a green one becomes a zone, the chart fills up with rectangles, and price, inevitably, touches one. Looking back, almost all of them worked. Live, many of them stop you out.
The gap has a simple cause: order blocks get drawn after the fact, when they should be validated before. This article gives the validation rules, a complete worked example, and a way to check whether the setup works for you.
What is an order block?
It is the last candle of the opposite direction before an impulse. The reasoning behind it: large orders were placed at that spot, and price then took off. When it returns to the zone, some of those orders may still be waiting there, hence a possible reaction.
Two cases:
| Type | Candle concerned | Impulse that follows |
|---|---|---|
| Bullish order block | Last bearish candle | Rise that breaks a previous high |
| Bearish order block | Last bullish candle | Drop that breaks a previous low |
The zone is drawn from the top to the bottom of the candle (wicks included) or on its body only. Both methods exist. What matters is to pick yours, write it down and keep it on every trade, otherwise your statistics per setup mean nothing.
The idea is not new: the order block is a reading of supply and demand, with stricter validity rules. That is precisely their value, because strict rules can be checked trade by trade.
What are the 4 validity conditions?
An order block is worth something only if all four are met.
| # | Condition | What you check |
|---|---|---|
| 1 | The impulse breaks structure | A BOS (break of structure): price closes beyond the last significant high (or low) |
| 2 | It leaves an imbalance | An FVG (fair value gap), meaning a gap between the wicks of three consecutive candles that price has not filled |
| 3 | The zone has not been revisited | An order block that has already been touched loses value |
| 4 | It sits on the right side of the range | Discount (below 50% of the range) to buy, premium (above 50%) to sell |
The first condition is the most important. Without a BOS, the candle did not precede anything notable: that is mistake number one, see below. The fourth keeps you from buying at the top of a range or selling at the bottom.
How do you use an order block in a trade plan?
One method among others, to be adapted and written down:
| Element | Rule |
|---|---|
| Zone | From the top to the bottom of the candle (or its body, depending on your choice) |
| Entry | When price returns into the zone, with a limit order |
| Stop | Below the low of the order block for a buy, above the high for a sell |
| Target | The next liquidity: the last obvious high or low |
Worked example
A calculation example, not a real trade. A 10,000 account, 1% risk per trade (100), a pair whose range runs from 1.0800 to 1.0900. The middle of the range is 1.0850: everything below it is in discount.
- Price drops toward 1.0800. The last bearish candle before the rebound occupies the zone 1.0812 to 1.0826.
- The impulse that follows breaks the previous high at 1.0870 (BOS) and leaves an FVG behind it.
- The zone, between 1.0812 and 1.0826, is below 1.0850: it is in discount. It has not been revisited. All four conditions are met.
- Limit entry at 1.0826 (top of the zone). Stop at 1.0808, which is 4 pips below the bottom of the zone: the risk is 18 pips.
- Target at 1.0900, the top of the range: 74 pips, a ratio of 74 ÷ 18 ≈ 4.1 R.
With 100 at risk over 18 pips, the position is worth about 5.5 per pip.
Measure your result on this setup, trade by trade →
And when the order block fails?
If price closes below 1.0808, the zone is invalidated. The stop is hit, the loss is 1 R (100 here), and the trade is closed without debate. A failed order block is part of the setup: it does not prove you misread the chart. The only useful question in the review is: were the four conditions really met at entry?
What are the 3 classic mistakes?
1. Seeing an order block in every candle. No BOS, no order block. If you draw ten per session, you validate nothing: you are looking for zones that will confirm a trade you already want to take.
2. Reusing a zone that has already been touched. The first reaction is often the best. At each return, part of the resting orders has already been filled, and the zone is worth less. Always note whether it is a first touch or a return.
3. Ignoring the higher timeframe. An M5 order block taken against the H4 trend is fragile. Start with the context above, identify the dominant direction, then look for the zone in that direction.
Does an order block really work?
That is the right question, and it has no general answer. SMC concepts rest on a reading of the market, not, to our knowledge, on published independent tests. An order block therefore has no known success rate and no guaranteed edge.
What can be verified is your own result:
- Write your rules (zone, entry, stop, target) before trading.
- For each trade, record: the timeframe, whether a BOS and an FVG were present, first touch or return, discount or premium.
- Measure the result in R, not in money, so you can compare trades of different sizes.
- Wait for a sufficient sample before concluding. Thirty trades is a strict minimum, fifty to a hundred is better. Over 20 trades, a 44% win rate means nothing: plain variance is enough to explain it.
- Compare the subgroups: do first touches do better than returns? Do zones in discount do better than the rest?
This work resembles a backtest, applied to real trades. It will tell you whether the order block is a setup for you, or just a nice rectangle.
The limits of the method
- Drawing remains subjective. Two traders do not draw the same zone on the same chart. Hence the value of a written rule.
- Market context matters. An order block behaves differently on a news day than in a calm market. A setup should also be judged by session.
- The return entry is not guaranteed. Price may never come back. An unfilled limit order is not a loss, and you should not chase price: see FOMO.
- A wide zone increases risk. A stop below a large candle shrinks the position size and degrades the ratio. A stop that is too tight, on the other hand, gets swept by noise.
This content is educational and is not investment advice. Trading involves a risk of capital loss.
Measuring your order blocks on Trade Stack
On Trade Stack, tag your trades "order block": the By setup view, reserved for the Pro plan, shows your win rate and your average R on that setup. You then see, on your real trades, whether the method keeps its promise. The data below is an example of what the view shows (mock-up, not real results).
| Setup | Trades | Win rate | Average R |
|---|---|---|---|
| Order block (example) | 34 | 44% | +0.31 R |
Measure my setup on Trade Stack
Key takeaways
- An order block is the last opposite candle before an impulse that breaks structure. Without a BOS, it is just a candle.
- Four conditions to meet: break of structure, imbalance (FVG), zone not revisited, right side of the range.
- The plan fits in four lines: zone, entry on the return, stop beyond the zone, target on the next liquidity.
- The three classic mistakes: seeing them everywhere, reusing a touched zone, ignoring the higher timeframe.
- A setup is judged on your trades, not on your memories.
Frequently asked questions
Should the zone be drawn with wicks or with the body?
Both methods exist. Choose one, write it down and keep it on every trade. If you change method depending on the chart, your statistics per setup become unusable.
Which timeframe should you use for an order block?
The concept applies to all of them. The mistake is taking an M5 order block against the H4 trend: start with the context above, then work down.
What is the difference between an order block and support or resistance?
Support or resistance is identified from several past reactions. An order block is identified from a single candle, validated by the break of structure that follows it, and judged on its first return.